I baked eleven pies in one month before I figured out why my bottoms were always wet. It wasn't the filling—it was the water. This pie crust recipe fixes that, and it starts with a number most recipes bury: 3 parts flour to 1 part fat by volume, ice water by the tablespoon, and a 30-minute chill that actually matters.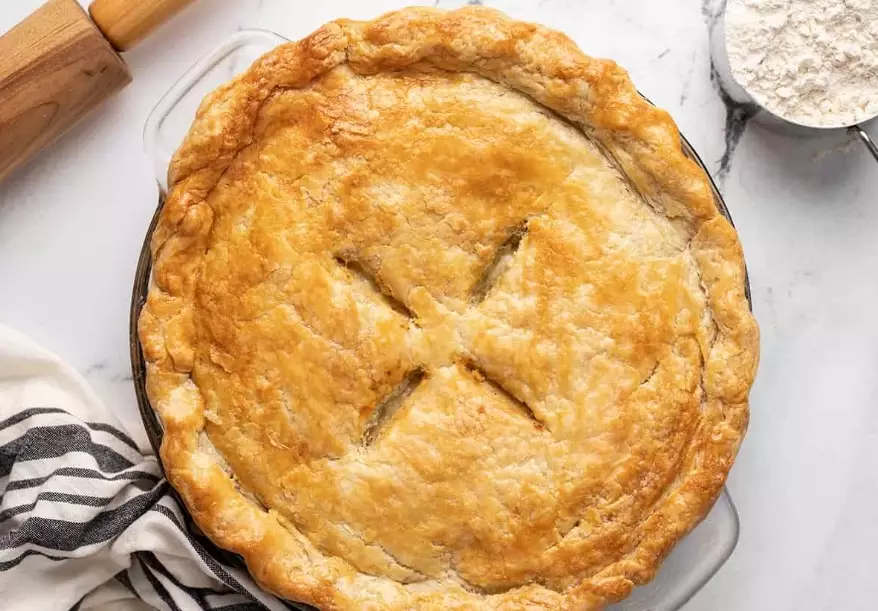
What's Inside (Skip to the Part You Need)
What Is the Right Ratio for a Pie Crust Recipe?
Most butter pie crust recipes juggle weights and percentages. Forget that for a minute. For a standard 9-inch single crust, you need:
| Ingredient | Amount | Why It Matters |
|---|---|---|
| All-purpose flour | 1 1/4 cups (150 g) | Too much flour makes it tough; level it with a knife |
| Cold unsalted butter | 1/2 cup (113 g), cubed and chilled | Cold fat creates steam pockets—that's flakiness |
| Ice water | 3–5 tablespoons (45–75 ml) | Start with 3; add one tablespoon at a time |
| Salt | 1/2 teaspoon fine sea salt | Skip it and the crust tastes flat, not just savory |
| Sugar (optional) | 1 teaspoon | Only for sweet pies; helps browning, not sweetness |
Notice I say ice water, not cold tap water. I keep a small bowl of water with ice cubes sitting in it while I work. The colder the dough stays, the less the butter melts before it hits the oven. That's the whole game.
Why Volume Beats Weight for Beginners
Weighing flour is more accurate—I won't argue that. But if you don't own a scale, spoon the flour into the cup and level it. Scooping straight from the bag packs in about 20% more flour, and that's exactly how a pie crust recipe turns into cardboard. I've watched people do this in cooking classes and then blame the recipe.
The Exact Ingredients and Step-by-Step Method
Here's the sequence I follow. It takes about 10 minutes of hands-on work, then 30 minutes in the fridge.
Step 1: Cut the Fat Into the Flour
Whisk the flour and salt in a large bowl. Add the cold butter cubes. Toss them in the flour so they're coated, then use a pastry cutter or your fingertips to smash them. Stop when you see pea-sized butter pieces plus a few almond-sized ones. Those bigger pieces are the flaky layers—don't chase a uniform crumb. That's a scone texture, not pie.
Step 2: Add Water by the Tablespoon
Sprinkle 3 tablespoons of ice water over the flour-butter mix. Stir with a fork. If it looks dry and crumbly, add water one tablespoon at a time and stir until dough just holds when you squeeze it. My rule: it should look slightly too dry right before you stop. It'll hydrate more while it rests.
Step 3: Shape and Chill
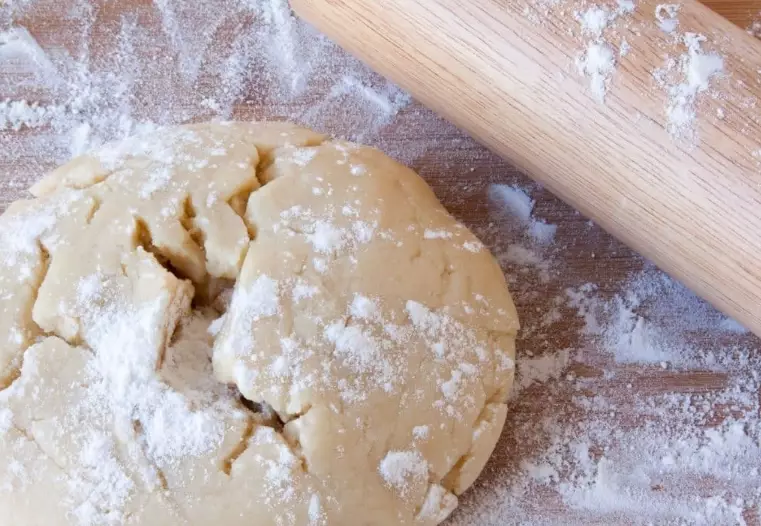
Dump the mixture onto a clean counter. Press it together into a disk—don't knead it. Kneading develops gluten and gives you a tough crust. Wrap the disk in plastic and refrigerate for at least 30 minutes. I've tried skipping this and rolling right away. The dough sticks, stretches, and shrinks in the pan. Thirty minutes fixes all three problems.
Step 4: Roll It Out
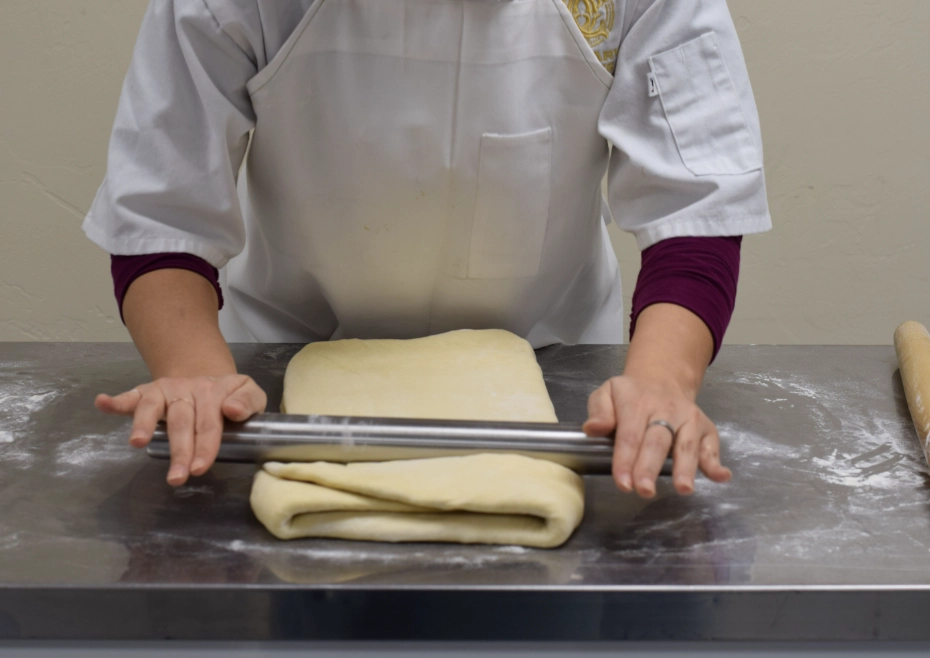
Flour your counter lightly, not the rolling pin. Roll from the center outward, lifting the dough occasionally to make sure it isn't stuck. For a 9-inch pie plate, roll to about 12 inches across—about 3 inches wider than the plate. If the dough cracks at the edges, pinch it back together. Nobody's checking.
How Do You Avoid a Soggy Bottom?
This is the question I get asked most. The answer isn't one trick—it's three small habits stacked together.
First, brush the unbaked crust with a thin layer of beaten egg white.
The protein sets up a barrier that stops the filling's moisture from soaking through. It takes ten seconds and works better than any store-bought product I've tried.
Second, freeze the shaped crust for 15 minutes before it goes in the oven.
Frozen butter in the dough creates steam, which lifts the layers apart. It also keeps the crust from slumping down the sides of the plate.
Third, bake on the bottom rack of your oven.
Most ovens run hotter on the bottom. Starting the crust there gives the base a head start before the filling weighs it down. I preheat to 425°F (220°C), bake the empty crust for 15 minutes, then drop to 375°F (190°C) for the rest of the bake.
Blind Baking Times by Filling Type
Blind baking means baking the crust before adding filling. Not every pie needs it, and over-baking is a real risk. Use this table as a starting point—every oven is different, so watch through the glass.
| Filling Type | Blind Bake? | Time & Temperature | What to Watch For |
|---|---|---|---|
| Custard or pumpkin | Yes, partially | 425°F (220°C) for 15 min, then add filling | Edges should look set but pale |
| Fresh fruit (apple, berry) | No | Bake all together at 375°F (190°C) | Juices bubbling at the center |
| Cream or no-bake | Yes, fully | 425°F (220°C) for 15 min, then 350°F (175°C) for 15–20 min | Golden brown all over |
| Pecan or chess pie | Yes, partially | 425°F (220°C) for 12 min, then add filling | Surface looks dry to the touch |
Weights for pie weights? Dried beans or uncooked rice work. I keep a jar of cheap dried beans that I've reused for years. Line the crust with parchment first, then fill it to the top. The weight keeps the crust from puffing up, which is the whole point.
5 Mistakes I See in Almost Every Home Baker
1. Overmixing the Dough
The moment you start kneading, gluten forms and the crust turns chewy. Stop when the dough just comes together. It should look a little rough.
2. Using Warm Butter
Butter should be cold enough that it's hard to cut with a knife. If it's bending, put it back in the fridge. Room-temperature butter makes a greasy, flat crust.
3. Adding Too Much Water at Once
Measure it. Three tablespoons is often enough. People dump in a quarter cup and then add flour, chasing the texture until they've made a whole second pie's worth.
4. Rolling the Dough Too Thin
About 1/8 inch (3 mm) is right. Thinner and it tears when you lift it; thicker and the bottom won't cook through. If you can see light through the dough, it's too thin.
5. Skipping the Rest
Gluten tightens up after rolling. If you roll, fit, and bake without a rest, the crust shrinks in the pan. Ten minutes in the freezer after fitting solves it.
Straight Answers to the Questions That Keep Coming Up
My pie crust turned out crumbly and wouldn't roll—what went wrong?
Nine times out of ten, it's not enough water in the initial mix. Add a half tablespoon of ice water, press the dough together, and let it sit for 5 minutes. Don't add a lot at once. Also, make sure you're not using a flour that's high in protein (like bread flour)—all-purpose or pastry flour works best for this pie crust recipe.
Can I make this pie crust recipe ahead of time?
Yes, and it's actually better that way. The disk keeps in the fridge for 3 days or the freezer for 3 months. If frozen, thaw it overnight in the fridge, not on the counter—quick temperature changes make the butter sweat.
What do I do if the crust shrinks down the sides while baking?
That's usually a sign you stretched the dough when fitting it into the plate. Press it in gently rather than pulling. Also, chill the fitted crust in the freezer for 10 minutes right before baking—cold dough holds its shape.
Why does my butter pie crust taste bland?
You probably skipped the salt. A half teaspoon of fine sea salt doesn't make it salty—it makes the butter flavor come through. If you're using salted butter, cut the added salt to a pinch, but don't leave it out entirely.
Is lard better than butter in a pie crust recipe?
Lard gives you a flakier, more tender crust. Butter gives you flavor. I use a 50/50 mix when I have both on hand—half cold butter, half cold lard. If you only have butter, that works fine. Just don't use shortening and butter together; the texture gets waxy.
Fact-checked note: The temperatures and ratios above come from my own kitchen testing and cross-checked with the King Arthur Baking Company's pie crust guide. I'm not a food scientist, but I've made this recipe enough times to know which steps you can skip (the sugar) and which ones you can't (the chill).

Leave a Comment