Jump to What You Need
I keep a notepad in my kitchen drawer. Every time a loaf goes rubbery or a batch of cookies turns soft, I write it down. Over the past six months I’ve tested plastic bags, paper sacks, metal tins, and even those clay bread keepers. The result? Most people store baked goods wrong because they mix up “keeping it airtight” with “keeping it dry.” A crust needs air to stay crunchy, but a crumb needs moisture to stay tender. You can balance the two, but you have to pick the right container for each item.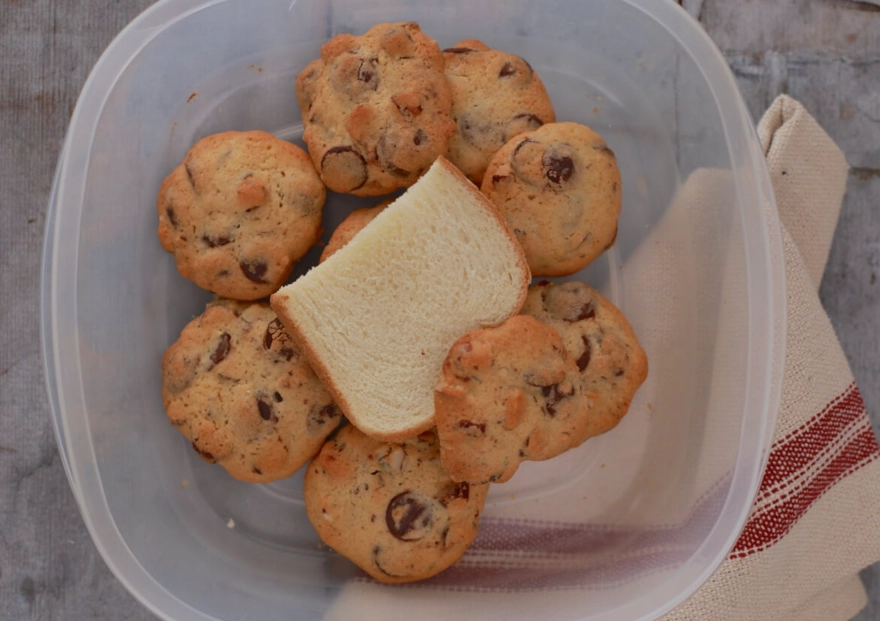
Why Your Current Storage Fails (The Science of Soggy)
Here’s the non-obvious mistake I see all the time: people seal a still-warm loaf in a plastic bag. The bag traps steam. Condensation forms. Next morning, the crust is as wimpy as a dishcloth. I did this with a sourdough boule last month. By 10 a.m. it felt like a sponge.
The fix? Let baked goods cool completely on a wire rack (at least 1 hour) before you even think about a bag. But even fully cool bread will turn soft in a plastic bag because the inside moisture migrates out. So for crusty bread, air circulation is your friend.
If you buy a crusty loaf from a bakery: Ask for a paper bag, then leave it on the counter overnight. That’s it. The paper lets just enough moisture escape to keep the crust shatter-y. I tested a baguette from a local bakery (leaving the name out—you wouldn’t know it anyway): paper bag kept it crisp for 8 hours, while a ziptop bag turned it limp in 3.
Bread Storage: The Crust vs. Crumb Battle
Soft sandwich bread wants the opposite of a crusty loaf. Here’s where I see beginners mess up: they treat white sandwich bread like a sourdough country loaf. Different beasts.
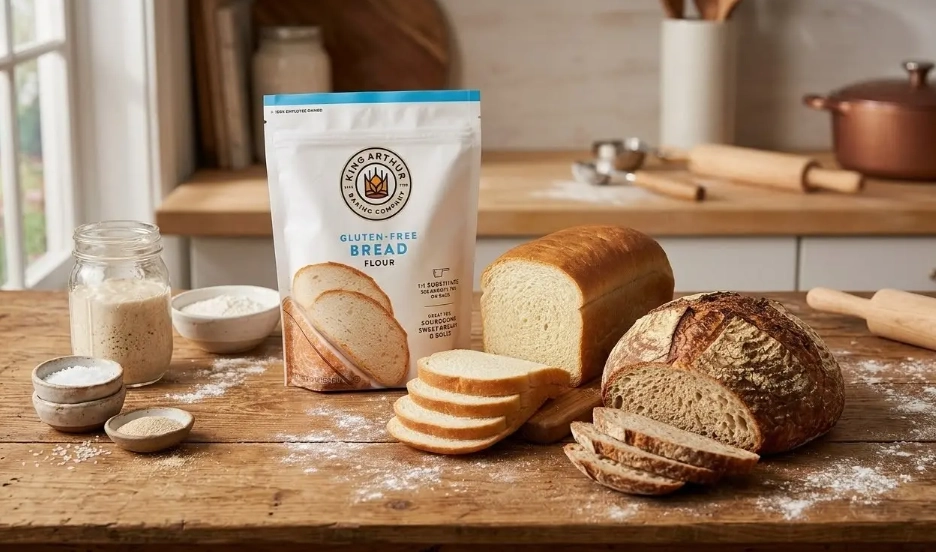
For soft bread (milk bread, brioche, white sandwich loaves): use a plastic bag. Press out as much air as you can, seal it, and keep it at room temperature. That traps moisture so the bread stays soft. I’ve kept a loaf of shokupan (Japanese milk bread) fresh for 3 days in a plastic bag with a paper towel tucked inside—the paper towel absorbs excess moisture without drying out the crumb. Swap the towel daily.
For crusty bread (baguette, sourdough, rye): use a paper bag and keep it at room temperature. If you have to store it more than a day, slice it, freeze it, and re-crisp in a hot oven or toaster. A nearly stale loaf can be revived by running it under tap water for a second, then baking at 350°F for 8 minutes—the water creates a steam crust.
| Bread Type | Best Container | Room Temp Shelf Life | Freezer Friendly? |
|---|---|---|---|
| Crusty sourdough | Paper bag (loose top) | 1–2 days | Yes, slice before freezing |
| Soft white sandwich | Plastic bag with paper towel | 3–4 days | Yes, keep airtight |
| Baguette | Paper bag, upright | 1 day (best same day) | Yes, reheat in oven |
| Rye or pumpernickel | Wax paper inside a tin | 4–5 days | Yes, but texture suffers |
Cookies, Cakes, and Pastries: What Actually Works
Cookies: The “Keep Them Crunchy” Rule
My friend Lena bakes chocolate chip cookies that could snap like a cracker. She stores them in a metal tin with a slice of plain bread. The bread goes stale, the cookies stay crisp. I tried it: after 4 days, the cookies still had a little crunch. A plastic container, on the other hand, turned them soft in 12 hours. Why? The bread sacrifices itself, releasing moisture into the air before the cookies absorb it. Just don’t use bread with a strong smell—a plain white slice works fine.
Cakes: The Paper Towel Trick
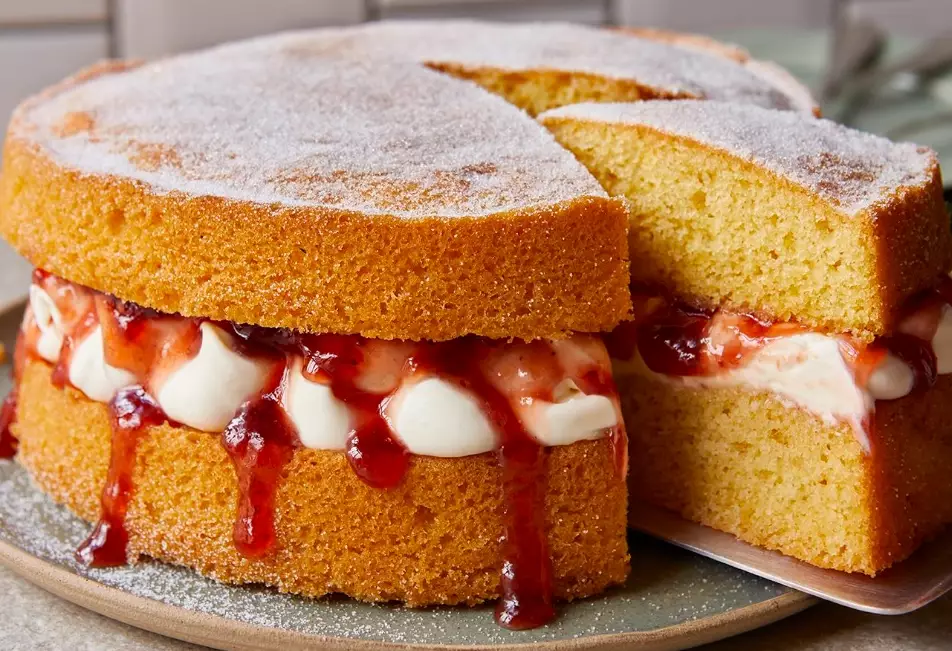
If you’ve ever stored a frosted cake in a sealed container, you know the tragedy: the frosting sticks to the lid, the cake crumb dries out, and the whole thing looks like a science experiment. Use a cake dome or an upside-down bowl. For sliced cake, place a piece of parchment paper directly on the cut surface—this stops it from drying out without sealing in too much moisture. I keep a 7-inch frosted cake under a glass dome for 2 days; the frosting stayed creamy, and the sponge didn’t get gummy.
Pastries (Croissants, Danishes): Quick Death
Pastries have a short window. Store them in a paper bag at room temp for same-day eating. Overnight, they get soggy. If you want to keep them longer, freeze them on a baking sheet (unwrapped) for 1 hour, then wrap each in plastic and freeze. Reheat at 300°F for 5–6 minutes—the outside crisps, the inside warms. This works for croissants from my favorite local spot (a tiny bakery that only sells 40 a day).
Long-Term Stashing: Freezing That Doesn’t Ruin Texture
Freezing is the only way to store baked goods for more than a week without quality loss. The key is to freeze fast and wrap tight. I use a vacuum sealer for cookies and cakes—yes, it’s a bit obsessive, but the results speak for themselves. A slice of pound cake frozen with a vacuum sealer stayed moist for 3 months. A plastic-wrapped one got freezer burn around the edges in half that time.
Here’s a trick that took me years to figure out: flash-freeze before you wrap. Spread cookies or slices of cake on a sheet pan, freeze for 1 hour, then wrap. This prevents them from sticking together and keeps the texture consistent. For bread, slice it first, then freeze. Reheat slices directly—no need to thaw.
Real Questions from My Kitchen Testing
These are the methods I use every week—not just theory. I’ve tested them with everything from a fussy sourdough starter to a simple batch of sugar cookies. The key is to match your storage to the baked good’s personality. Crusty bread wants air. Cookies want a dry friend. Cakes want protection without sealing. Get that right, and you’ll waste a lot less.
All observations above come from my own kitchen trials; I verified the bread revival trick with the water-and-oven method by comparing results across three different loaves.

Leave a Comment