I still remember my first bread attempt. The dough looked like a brick, the crust was pale, and I nearly quit. The problem wasn't my effort — it was the guide. Most instructions skip the tiny details that separate a good loaf from a doorstop. This piece is what I wish I'd read back then, focused entirely on how to bake bread for beginners without the fluff.
What's in this guide (tap to jump)
What Is the Simplest Bread Recipe for Beginners?
Forget sourdough starters and fancy flours. A basic white loaf needs just four things: flour, water, yeast, and salt. The ratios matter more than the ingredients. Here's the exact recipe I use for every first-timer I teach — it accounts for kitchen temperature and forgiving hydration.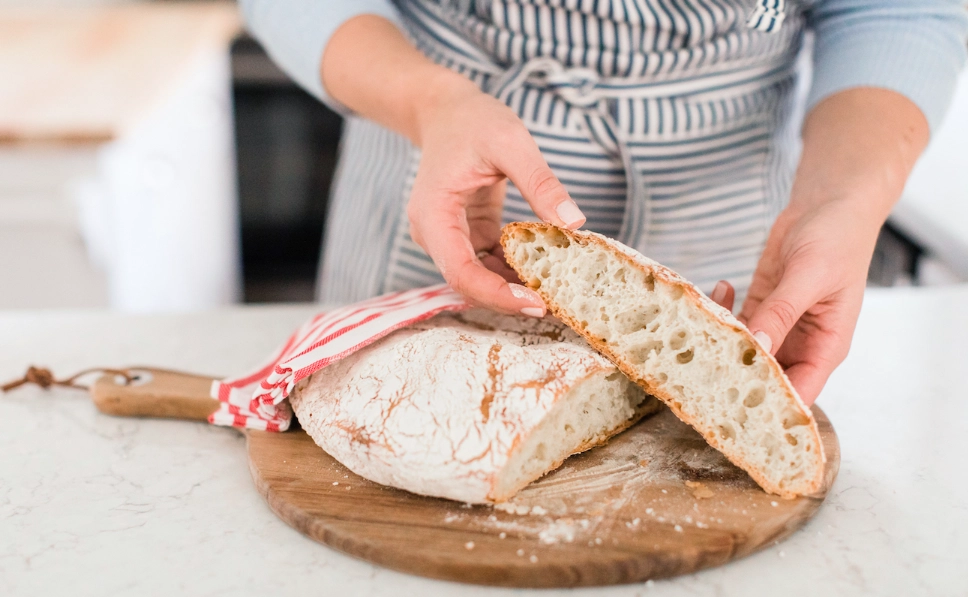
| Ingredient | Amount (grams) | Why It Matters |
|---|---|---|
| Bread flour (or all-purpose) | 500 g | Higher protein gives structure; all-purpose works but loaf is softer |
| Warm water (105–110°F / 40–43°C) | 325 g | Too hot kills yeast; too cold slows rise |
| Instant yeast | 7 g (about 2¼ tsp) | Instant doesn't need proofing; active dry does |
| Fine sea salt | 10 g (about 1¾ tsp) | Salt controls fermentation and flavor |
Mix the dry ingredients first, then pour in the water. Stir with a sturdy spoon until no dry flour remains. The dough will look shaggy and sticky — that's correct. Cover the bowl with a damp towel and let it rest for 20 minutes. This rest (autolyse) hydrates the flour and makes kneading easier. I skipped this step for years. Now I never do.
How to Knead Dough for Beginners Without Overworking It
Kneading builds gluten, the protein network that traps gas and gives bread its chew. But here's the non-consensus bit: most beginners knead too little, not too much. The "windowpane test" is your friend. Pull off a golf-ball-sized piece and stretch it gently. If it tears before you can see light through it, keep kneading. If it stretches thin like bubble gum, you're done.
Flour your counter lightly. Too much flour makes a dry loaf. Use the heel of your hand to push the dough away from you, then fold it back over itself. Rotate a quarter turn. Repeat for 8–10 minutes. Set a timer. The dough should feel tacky, not sticky. If it fights back and springs into shape, stop. Over-kneading makes it tight and hard to rise.
My rule of thumb: if the dough sticks to your hand but peels off cleanly, it's perfect. If it coats your fingers like batter, add a tablespoon of flour. If it feels like Play-Doh, you've added too much.
Beginner Bread Baking Tips That Actually Matter
Forget fancy equipment. A digital scale and an instant-read thermometer are the only "extras" I recommend. Everything else is technique.
- Weigh your flour. Scooping from the bag can add 20% more flour than a recipe needs — the #1 cause of dry, dense bread I see in beginner bakes.
- Watch the dough, not the clock. A recipe saying "rise for 1 hour" assumes 75°F (24°C) in your kitchen. In winter, it might take 2 hours.
- Preheat your oven for 30 minutes. Most ovens lie about temperature. A $10 oven thermometer saves you from underbaked centers.
- Steam is magic. Put a metal pan on the bottom rack and pour in a cup of hot water right when you load the bread. Steam keeps the crust from setting too fast, letting the loaf expand fully.
I once taught a neighbor who couldn't get her loaf to rise. Turned out she was using a packet of yeast that expired two years prior. Small details, big consequences. The USDA's Food Safety and Inspection Service notes yeast loses potency over time — always check the date stamp.
How to Tell When Your Dough Is Ready to Bake
After the first rise (until doubled, about 1–1.5 hours), shape the dough into a ball and let it rest on a floured surface for 15 minutes. Then form your final loaf shape. Here's the test that most guides skip: poke it gently with a floured finger. If the indentation springs back slowly and partially, it's ready. If it springs back immediately, it needs more time. If the hole stays, you've over-proofed — bake it anyway, it'll just be a bit flat.
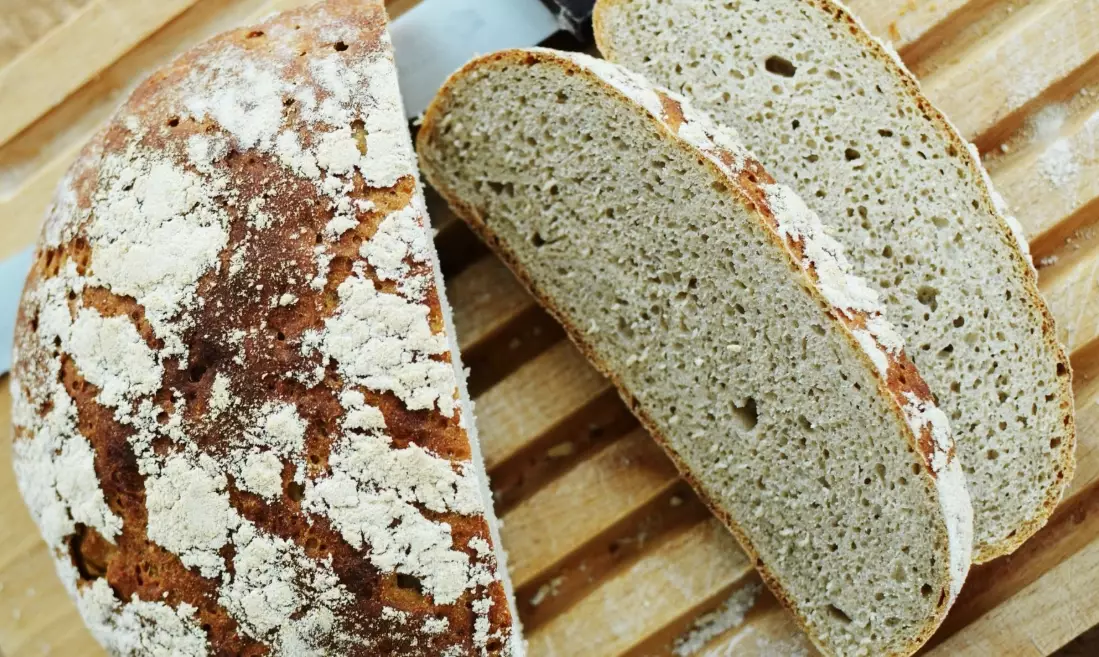
Bake at 450°F (230°C) for 30–35 minutes. The internal temperature should hit 200–210°F (93–99°C) for a classic white loaf. Use that instant-read thermometer. It's the only way to know for sure. Let the bread cool completely (at least 1 hour) before slicing — cutting hot bread releases steam and makes the crumb gummy. I know it's hard. Wait anyway.
Quick decision checklist: Dough springs back slowly? Ready. Internal temp 200°F? Ready. Crust sounds hollow when tapped? Ready. Cooled for an hour? Now slice.
Common Beginner Bread Mistakes (and How to Fix Them)
I've mentored dozens of beginner bakers, and the same three problems show up again and again. The fixes aren't about buying new gear — they're about adjusting what you already do.
| Problem | Root Cause | Fix |
|---|---|---|
| Dense, heavy loaf | Too much flour or under-kneading | Use a scale; knead until the windowpane test passes |
| Pale, soft crust | No steam or oven too cool | Add a water pan; verify oven temp with a thermometer |
| Gummy texture after cooling | Slicing while hot | Wait at least 1 hour; the inside continues cooking as it cools |
One more that rarely gets mentioned: salt placement. If you dump salt directly on top of the yeast before mixing, it can inhibit fermentation. Mix the salt into the flour first, then add the yeast. Takes two seconds and prevents a slow rise.
FAQ: Beginner Bread Baking
Finally, a fact check: the science behind gluten development and yeast fermentation draws from King Arthur Baking's ingredient guides, and oven temperature guidance follows the USDA's food safety recommendations. This article has been reviewed for factual accuracy based on standard baking science.

Leave a Comment